
How to Create an Online Form in Minutes (Step-by-Step Guide)
Learn how to build professional online forms in under 5 minutes using AI, document uploads, or templates. A complete step-by-step tutorial for surveys, quizzes, and payment forms.
Founder & CEO
Software engineer and entrepreneur with 10+ years building B2B SaaS products. Founded Formalingo to eliminate manual document workflows with AI.
Online forms are the backbone of modern business operations. Whether you are collecting customer feedback, running a survey, registering attendees for an event, or processing job applications, a well-designed form can mean the difference between capturing valuable data and losing respondents to frustration.
The problem with most form builders is that they require too much manual work. You spend 30 minutes dragging and dropping fields, configuring validation rules, and tweaking layouts — only to realize you forgot a question and need to restructure the entire flow. If you are ready to go beyond free tools like Google Forms, there is a better way.
This guide walks you through creating professional online forms in under five minutes using Formalingo's AI-powered form builder. Whether you are a complete beginner or a seasoned professional looking for a faster workflow, you will find a method that works for you.
Why Online Forms Still Matter
In an era of chat interfaces and conversational AI, the structured form remains indispensable. Forms provide:
- Consistent data collection — every respondent answers the same questions in the same format, making analysis straightforward.
- Scalability — a single form can collect thousands of responses without any additional effort on your part.
- Automation triggers — form submissions can kick off workflows, send notifications, update CRMs, and process payments.
- Compliance documentation — timestamped, structured submissions create an audit trail that unstructured communication cannot match. The W3C Web Accessibility Initiative provides additional guidance on building forms that meet accessibility standards.
The key is not whether to use forms, but how quickly and effectively you can build them.
Three Ways to Create a Form
Formalingo offers three distinct methods for creating forms. Each is suited to different starting points and preferences.
Method 1: AI Chat — Describe What You Need
The fastest path from idea to form is the AI form builder. Open the form editor, and you will find a chat interface where you can describe your form in plain language.
How it works:
- Create a new form from your dashboard by clicking the "New Form" button.
- Open the AI chat panel in the form editor.
- Describe your form in natural language. For example: "Create a customer satisfaction survey with questions about product quality, delivery speed, customer support experience, and an overall rating. Include a section for open-ended feedback at the end."
- Watch the AI build your form in real time. It creates sections, adds questions with the appropriate field types (rating scales, multiple choice, long text), and sets up logical groupings.
- Refine with follow-up instructions. Tell the AI to "add a conditional question that asks about the specific support issue only if the customer rates support below 3" or "move the demographics section to the beginning."
The AI understands context. It knows that a "satisfaction survey" should use rating scales, that a "registration form" needs contact fields, and that a "quiz" requires correct-answer marking. You do not need to specify every field type manually.
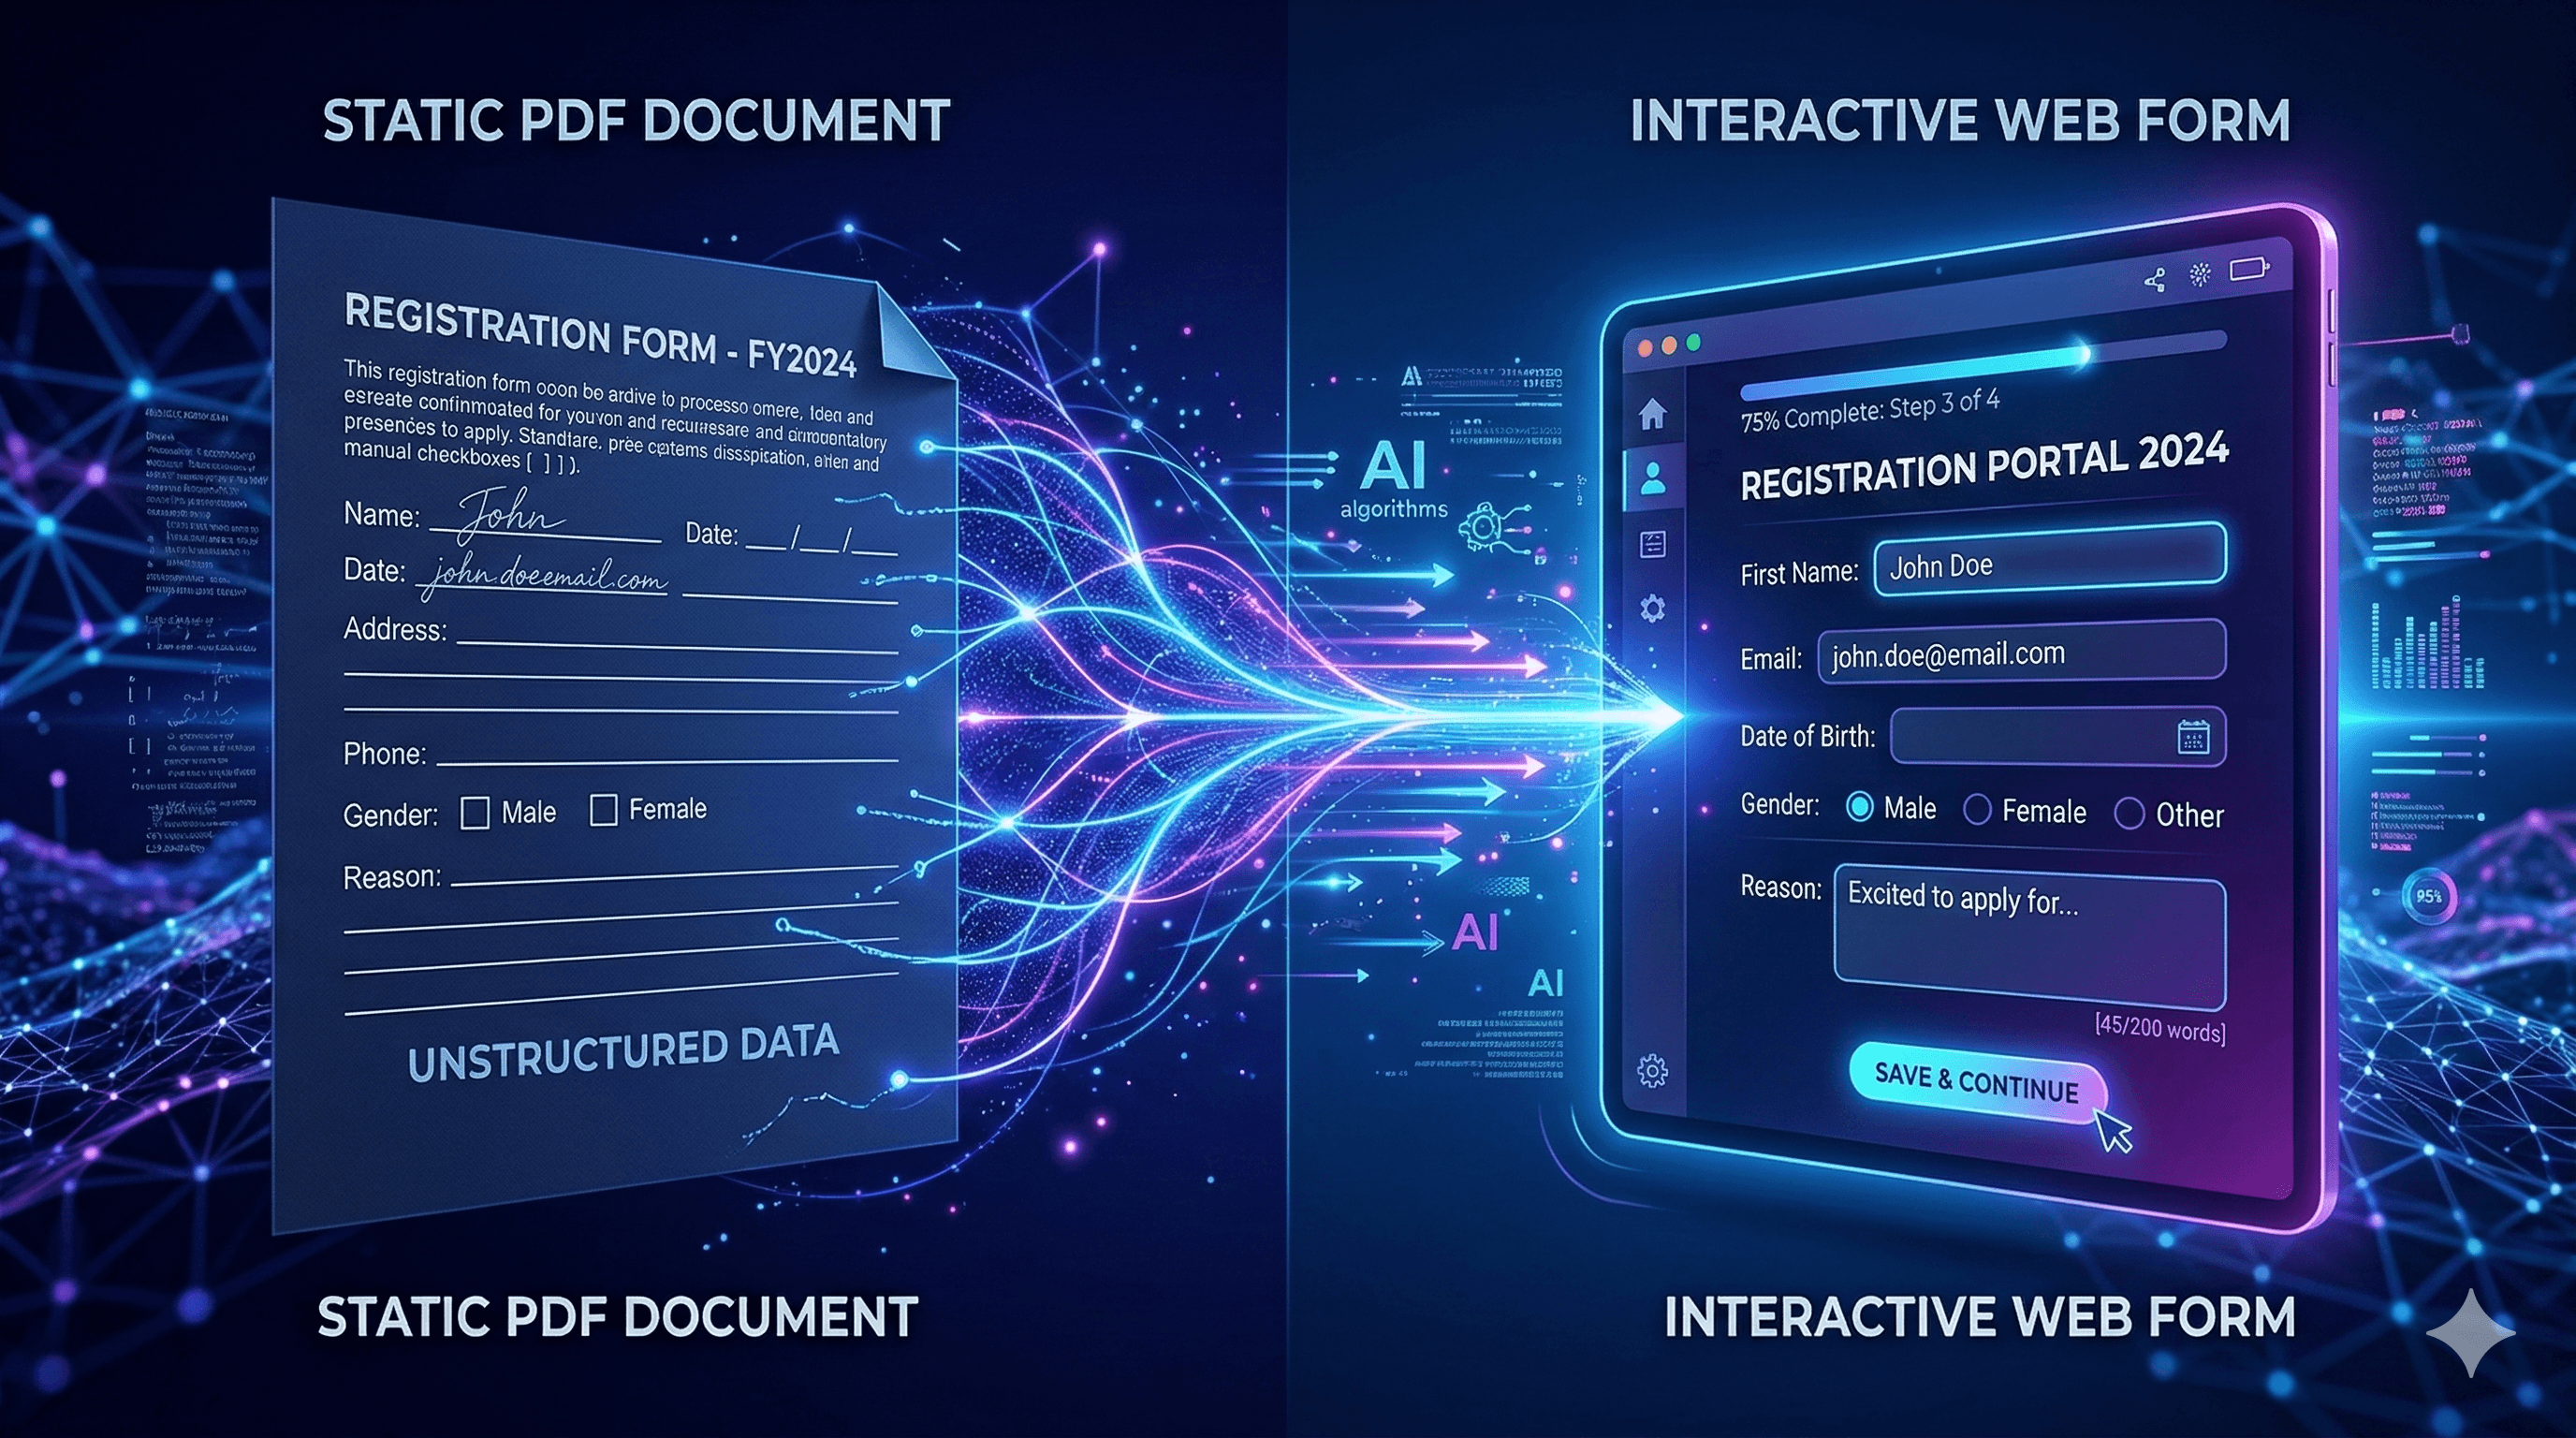
Method 2: Document Upload — Turn Existing Documents into Forms
If you already have a form in PDF, Word, or another document format, you do not need to recreate it from scratch. Upload the document and let the AI parse it.
How it works:
- Create a new form and open the AI chat panel.
- Upload your document — PDF, DOCX, or CSV files are supported.
- The AI analyzes the document structure, identifies form fields, and generates corresponding questions with the correct field types.
- Review and adjust. The AI preserves the structure of your original document while converting it into an interactive, respondent-friendly format.
This method is particularly valuable for organizations transitioning from paper-based workflows. A 10-page employee onboarding packet becomes an interactive digital form in minutes rather than hours. For a detailed walkthrough, see how to convert an existing PDF to a form.
Method 3: Templates — Start from a Proven Structure
For common use cases, starting from a template eliminates guesswork entirely.
How it works:
- Browse the template gallery from your dashboard.
- Preview templates to see the question structure, field types, and flow.
- Clone a template to create your own copy.
- Customize the cloned form — edit questions, add your branding, and adjust the flow to match your specific needs.
Templates are available for customer feedback, event registration, job applications, order forms, and more.
Adding Conditional Logic
Static forms ask every respondent every question, regardless of relevance. Conditional logic makes your forms smarter by showing or hiding questions based on previous answers.
Example scenarios:
- Show a "Please describe the issue" text field only when a respondent selects "Unsatisfied" or "Very Unsatisfied" in a satisfaction rating.
- Skip the "Dietary restrictions" section entirely for respondents who indicate they are not attending the dinner event.
- Display payment fields only when the respondent selects a paid tier.
To add conditional logic in Formalingo:
- Navigate to the Rules section in the form editor.
- Select the trigger question and the condition (equals, not equals, contains, greater than, less than, is empty, is not empty).
- Choose the action — show or hide a specific question or section.
- Test the logic by previewing the form and stepping through different answer paths.
Conditional logic not only improves the respondent experience but also improves data quality by collecting only relevant information. To learn more about how to design forms that people complete, see our form design guide.
Customizing Your Brand
A form that looks like it belongs to your organization builds trust and increases completion rates.
Branding options include:
- Logo — upload your company or project logo, displayed at the top of the form.
- Primary color — applied to buttons, progress indicators, and interactive elements.
- Background color — sets the overall form background.
- Welcome screen — customize the heading and subtitle respondents see before they begin.
- Thank-you screen — set a custom completion message with next steps or follow-up instructions.
Access branding settings from the form editor's branding panel. Changes preview in real time so you can see exactly what respondents will experience.
Sharing Your Form
Once your form is ready, publish it and share it with respondents.
Sharing options:
- Direct link — each form gets a unique, shareable URL. Send it via email, messaging apps, or embed it in communications.
- Recipient-specific links — generate unique links per recipient for tracking individual responses and enabling features like password protection.
- QR codes — generate a QR code for physical distribution at events, in printed materials, or on signage.
Before sharing, switch the form status from Draft to Published. You can return the form to draft status at any time to pause collection.
Tracking Responses and Analytics
After your form is live, the analytics dashboard provides real-time insight into:
- Response volume — total submissions, completion rate, and drop-off points.
- Individual responses — review each submission in detail.
- Field-level analytics — see answer distributions for multiple-choice and rating questions.
- Visit tracking — understand when and from where respondents are accessing your form.
Export responses as CSV or XLSX for further analysis in your preferred spreadsheet or BI tool.
Getting Started
Creating an online form does not need to be a time-consuming process. With AI-assisted building, document parsing, and templates, you can go from idea to live form in under five minutes. The combination of conditional logic, branding customization, and detailed analytics ensures that the forms you build are not just fast to create — they are effective at collecting the data you need. If you are comparing form builders, see how Formalingo stacks up against Typeform and Google Forms.
Ready to build your first form? Start with the AI form builder and describe what you need. The AI handles the rest.
Continue Reading


Stop tagging fields by hand.
Let AI do it in seconds.
Start free — no credit card required.